No intro for this time, Let's start the tutorial.
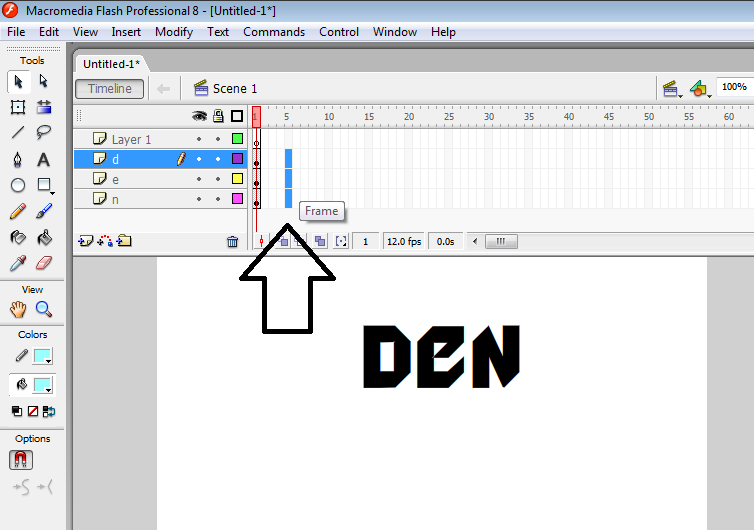
Insert Text in the Stage. I used the word "DEN" in this tutorial.
Then right click again, select "Distribute to Layers".
then click outside the text to deselect. Select on the first letter, which is "D".
Right Click, convert to symbol.
Then select graphic, click on OK. Apply these steps on the remaining letters "E" and "N".
Then select the Frame 5 of the following layers.
Right click on the frame, and select "Insert Keyframe".
Then here is the tip:
Make sure the frame 5 of the following layers are still selected, then click on the object,(the word "DEN" selected) and go to properties, select on "Color" change it to "Alpha", make it "0%".
Then select the frame 10 of the following layers. If you are having trouble selecting the frames, make use of the "Shift" button.
select "Insert Keyframe".
Same step, click on the object, then change the Alpha Color into 100.
then select on frame 20.
Then resize the object. Hold on "ALT" button when resizing. After resizing, change the color of the object to 0% (same step in changing the opacity).
After that, select the frame 10 to frame 20 of layer "E". (Hold on SHIFT, it helps)
Then drag it to a new location. I relocate it to frame 15 to frame 25.
then i did the same in layer "N". But I relocate it in frame 20 to frame 30.
Then apply the motion tween. To make this thing possible, right click on the frame then select "Create Motion Tween".
Apply to all frames. Then test your movie. (Ctrl Enter to test)
Thanks for reading this rushed tutorial. Hope it helps. If not, just ask questions or wait for the upcoming video tutorial for this.


0 (mga) komento:
Post a Comment